
I had been using a floor for a design wall, but this proved to be insufficient as the angle for viewing was just not right. However, my studio really does not have a wall large enough or accessible enough to serve as the design wall. I am going to expose you to my full, functional, and presently messy studio. 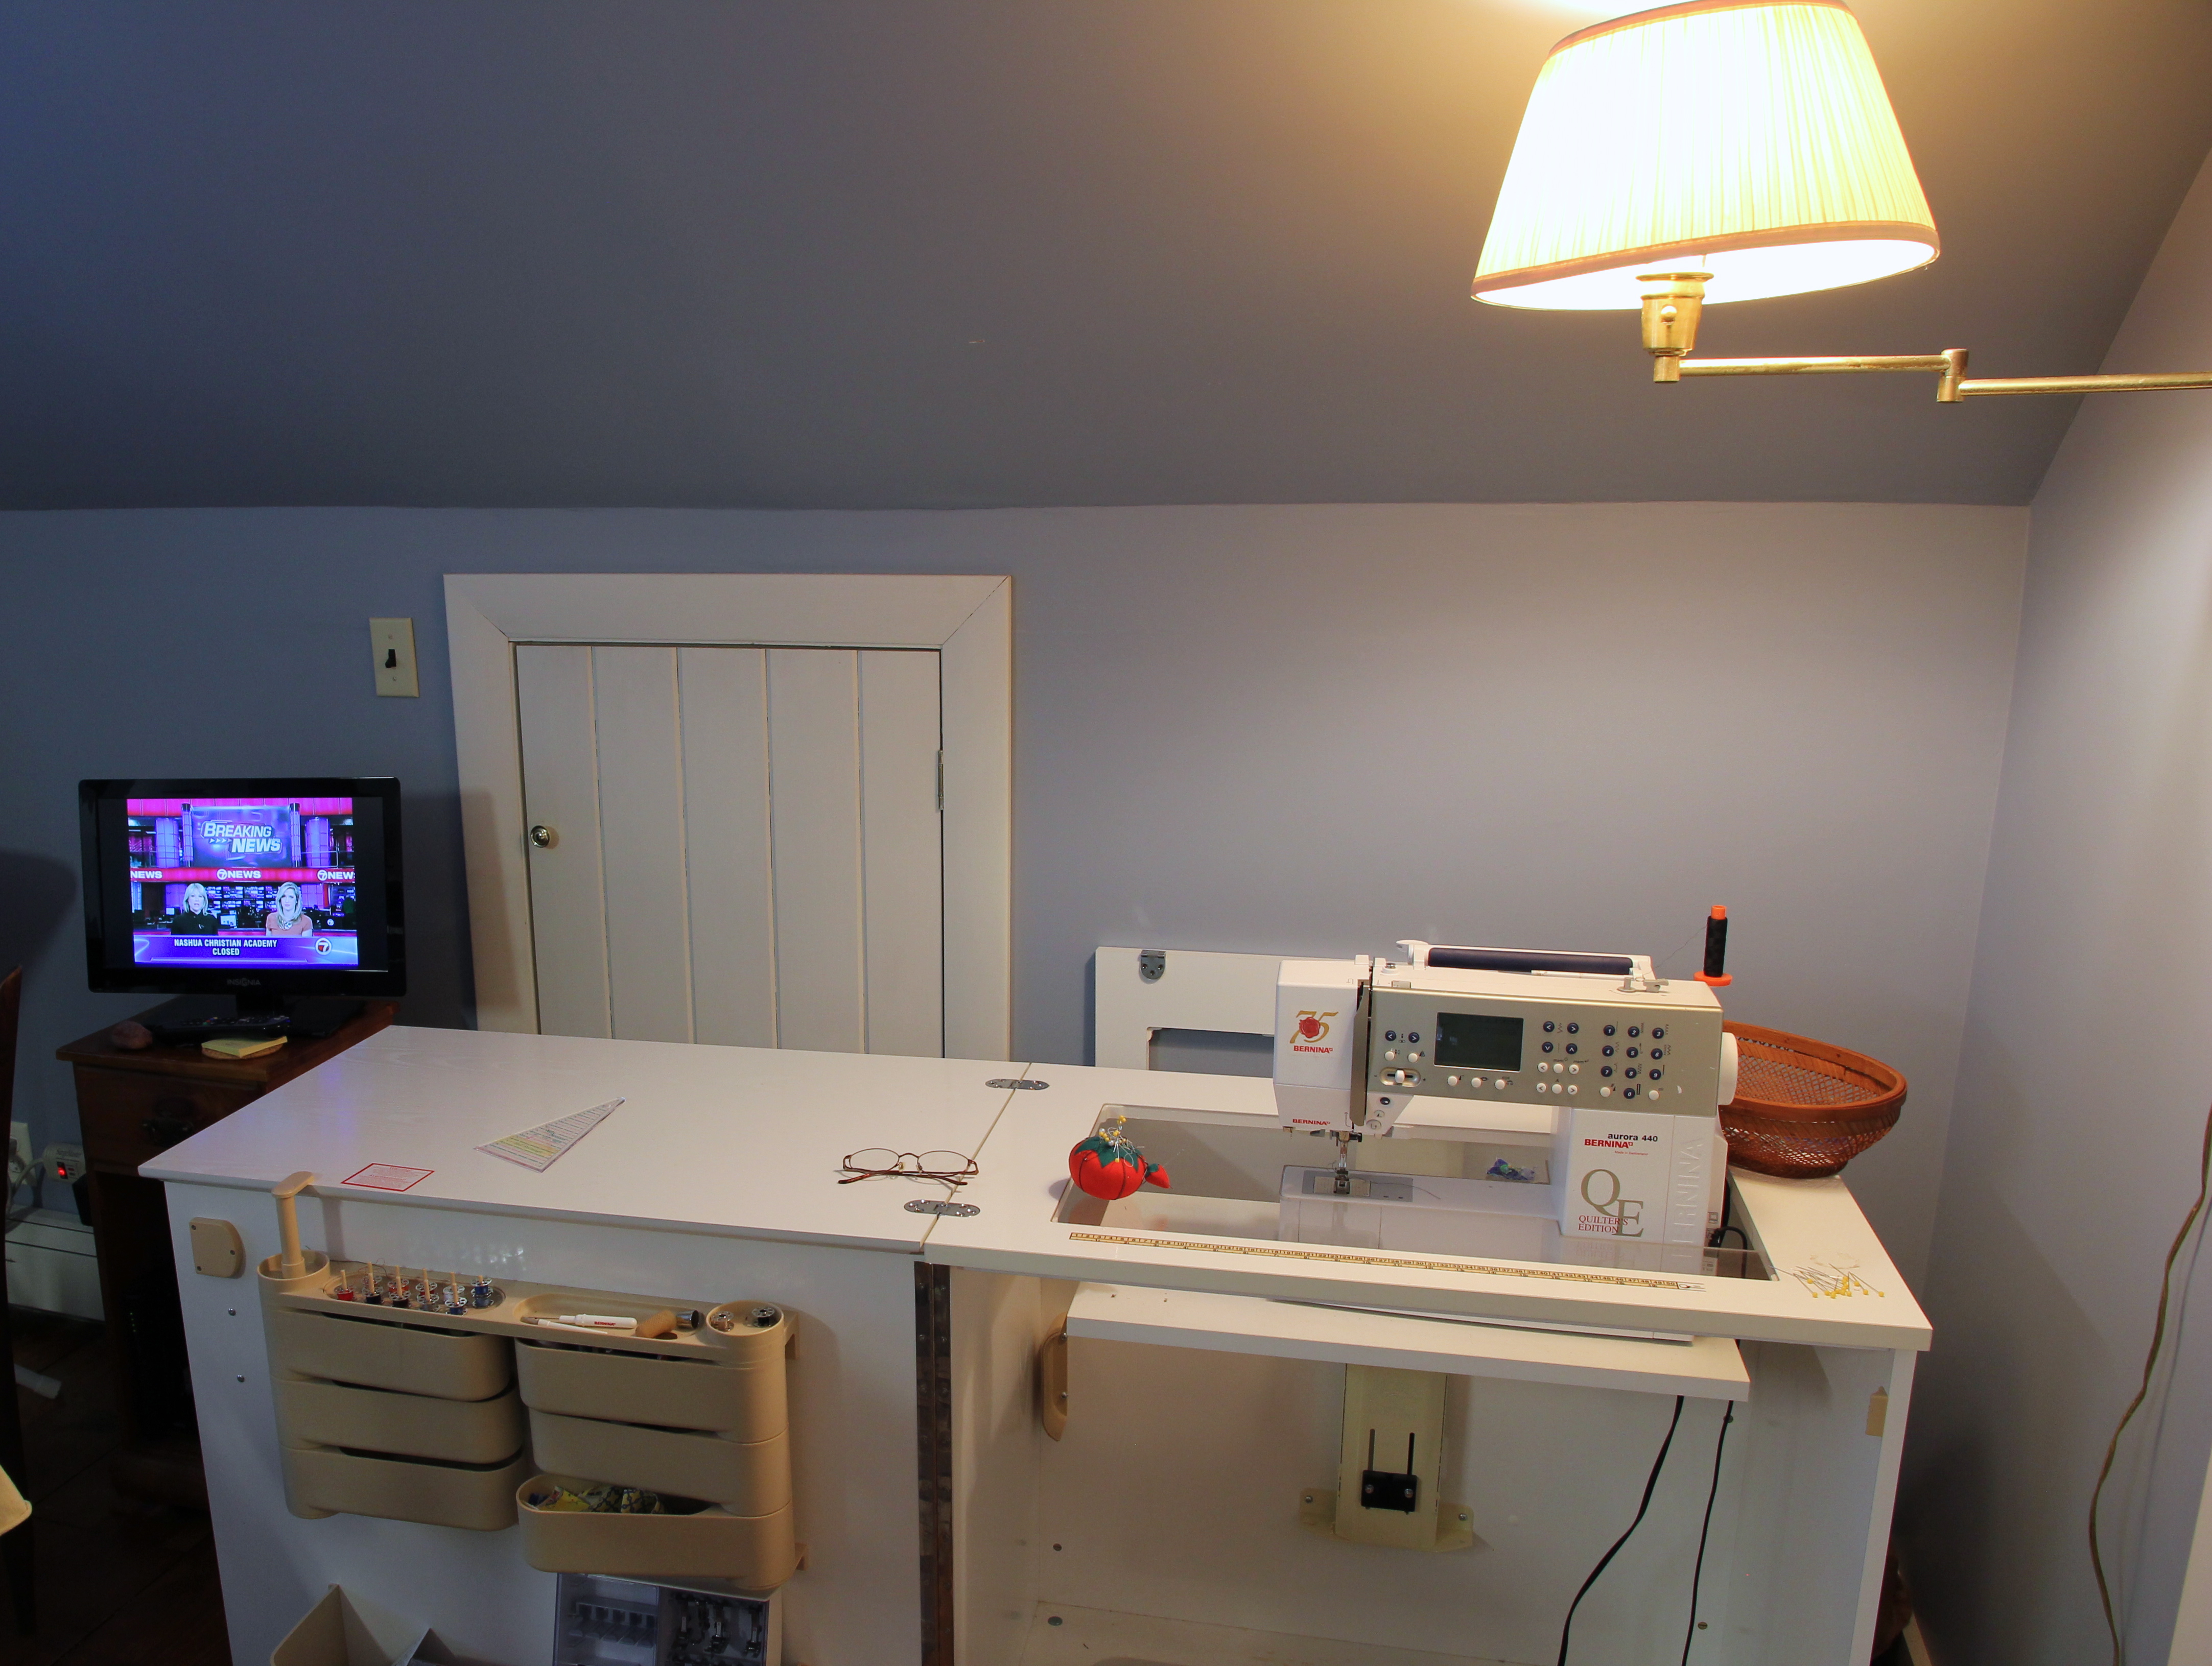


As you can see my studio is on the second floor of a Cape Cod style house. This room does not provide a spot for a design wall due to the slanting ceiling and various nooks. My studio is very full, but extremely functional. In these photographs, the cutting table is open as is the sewing machine cabinet. Nonetheless, even when each area has a project in process, I can still walk on all sides of the cutting table and work at the longarm. Looking at these pictures, I realize I need to hang some quilts on the walls. In the fourth picture, the two frames on the opposite wall frame pieces of a quilt I believe was made by my great-grandmother Beda.
To begin to explain my design wall solution, here is a picture of the front of my home. 
I live in New England so the winters can be cold. Yet, I can’t bring myself to put a storm door on the front of the house. I think it would ruin the facade. This dilemma is what brought me to quilting.
I made a quilt to hang on the inside of the front door, as was done in colonial times, to block any draft. This was my first quilt, which I made about ten years ago.

Knowing no better, I cut each piece with scissors and used a ruler for sizing. It is lined with an old woolen blanket and extended on the bottom to accommodate the extra length needed. It’s not too bad considering I had no clue what I was doing. I had always been a garment sewer. I have now discovered another use for this quilt…my design wall, if a bit of a busy one! You do have to overlook the natural wave in the way it hangs.


This is the best solution to date. I can pin most quilt tops to this old ‘storm door’ quilt so I can more easily play with my design. I find I start with a traditional design, which I ultimately find boring, so I adjust it a bit.
So here’s my design wall solution for a full studio. It just happened…or did it? Happy quilting!


Your studio is NOT messy…..at least, not compared to mine! And I love your ‘design wall’….too funny! I did drop off the quilt at the apartment in Somerville yesterday….Hope C. delivers it!
I got it. Thanks. I’ll load it tomorrow. It’s so pretty and great colors, too.
What a good solution!
Thanks! It’s funny how things work out.