
I’m sorry I have been so negligent, lately, at posting regularly. I will do better. My goal has been to post at least once per week, but I’ve failed this fall, my favorite time of year. However, as winter is soon upon us, I should get back to normal, normal for me, that is. I need to organize my time so when my studio is busy with items I can’t post about, I still blog.
Last spring, I agreed to quilt a fellow quilter’s quilt top, which she would custom make as a silent auction offering for one of her favorite charities, Household Goods. I didn’t ask any questions at the time about the quilting design, assuming it would be a pantograph or an easy edge to edge design. Never assume! The Silent Auction offering was a pattern, which showed a photograph on the cover with a specific quilting design. The purchaser liked the quilting design so I needed to recreate it. Rulerwork! Rulerwork is something I don’t spend a lot of time voluntarily doing as I’m more of a tempestuous curve type of person, and ruler work is time consuming, so it is great, but nerve wracking, when a quilt comes to me that requires ruler/template work because it forces me out of my lazy zone.
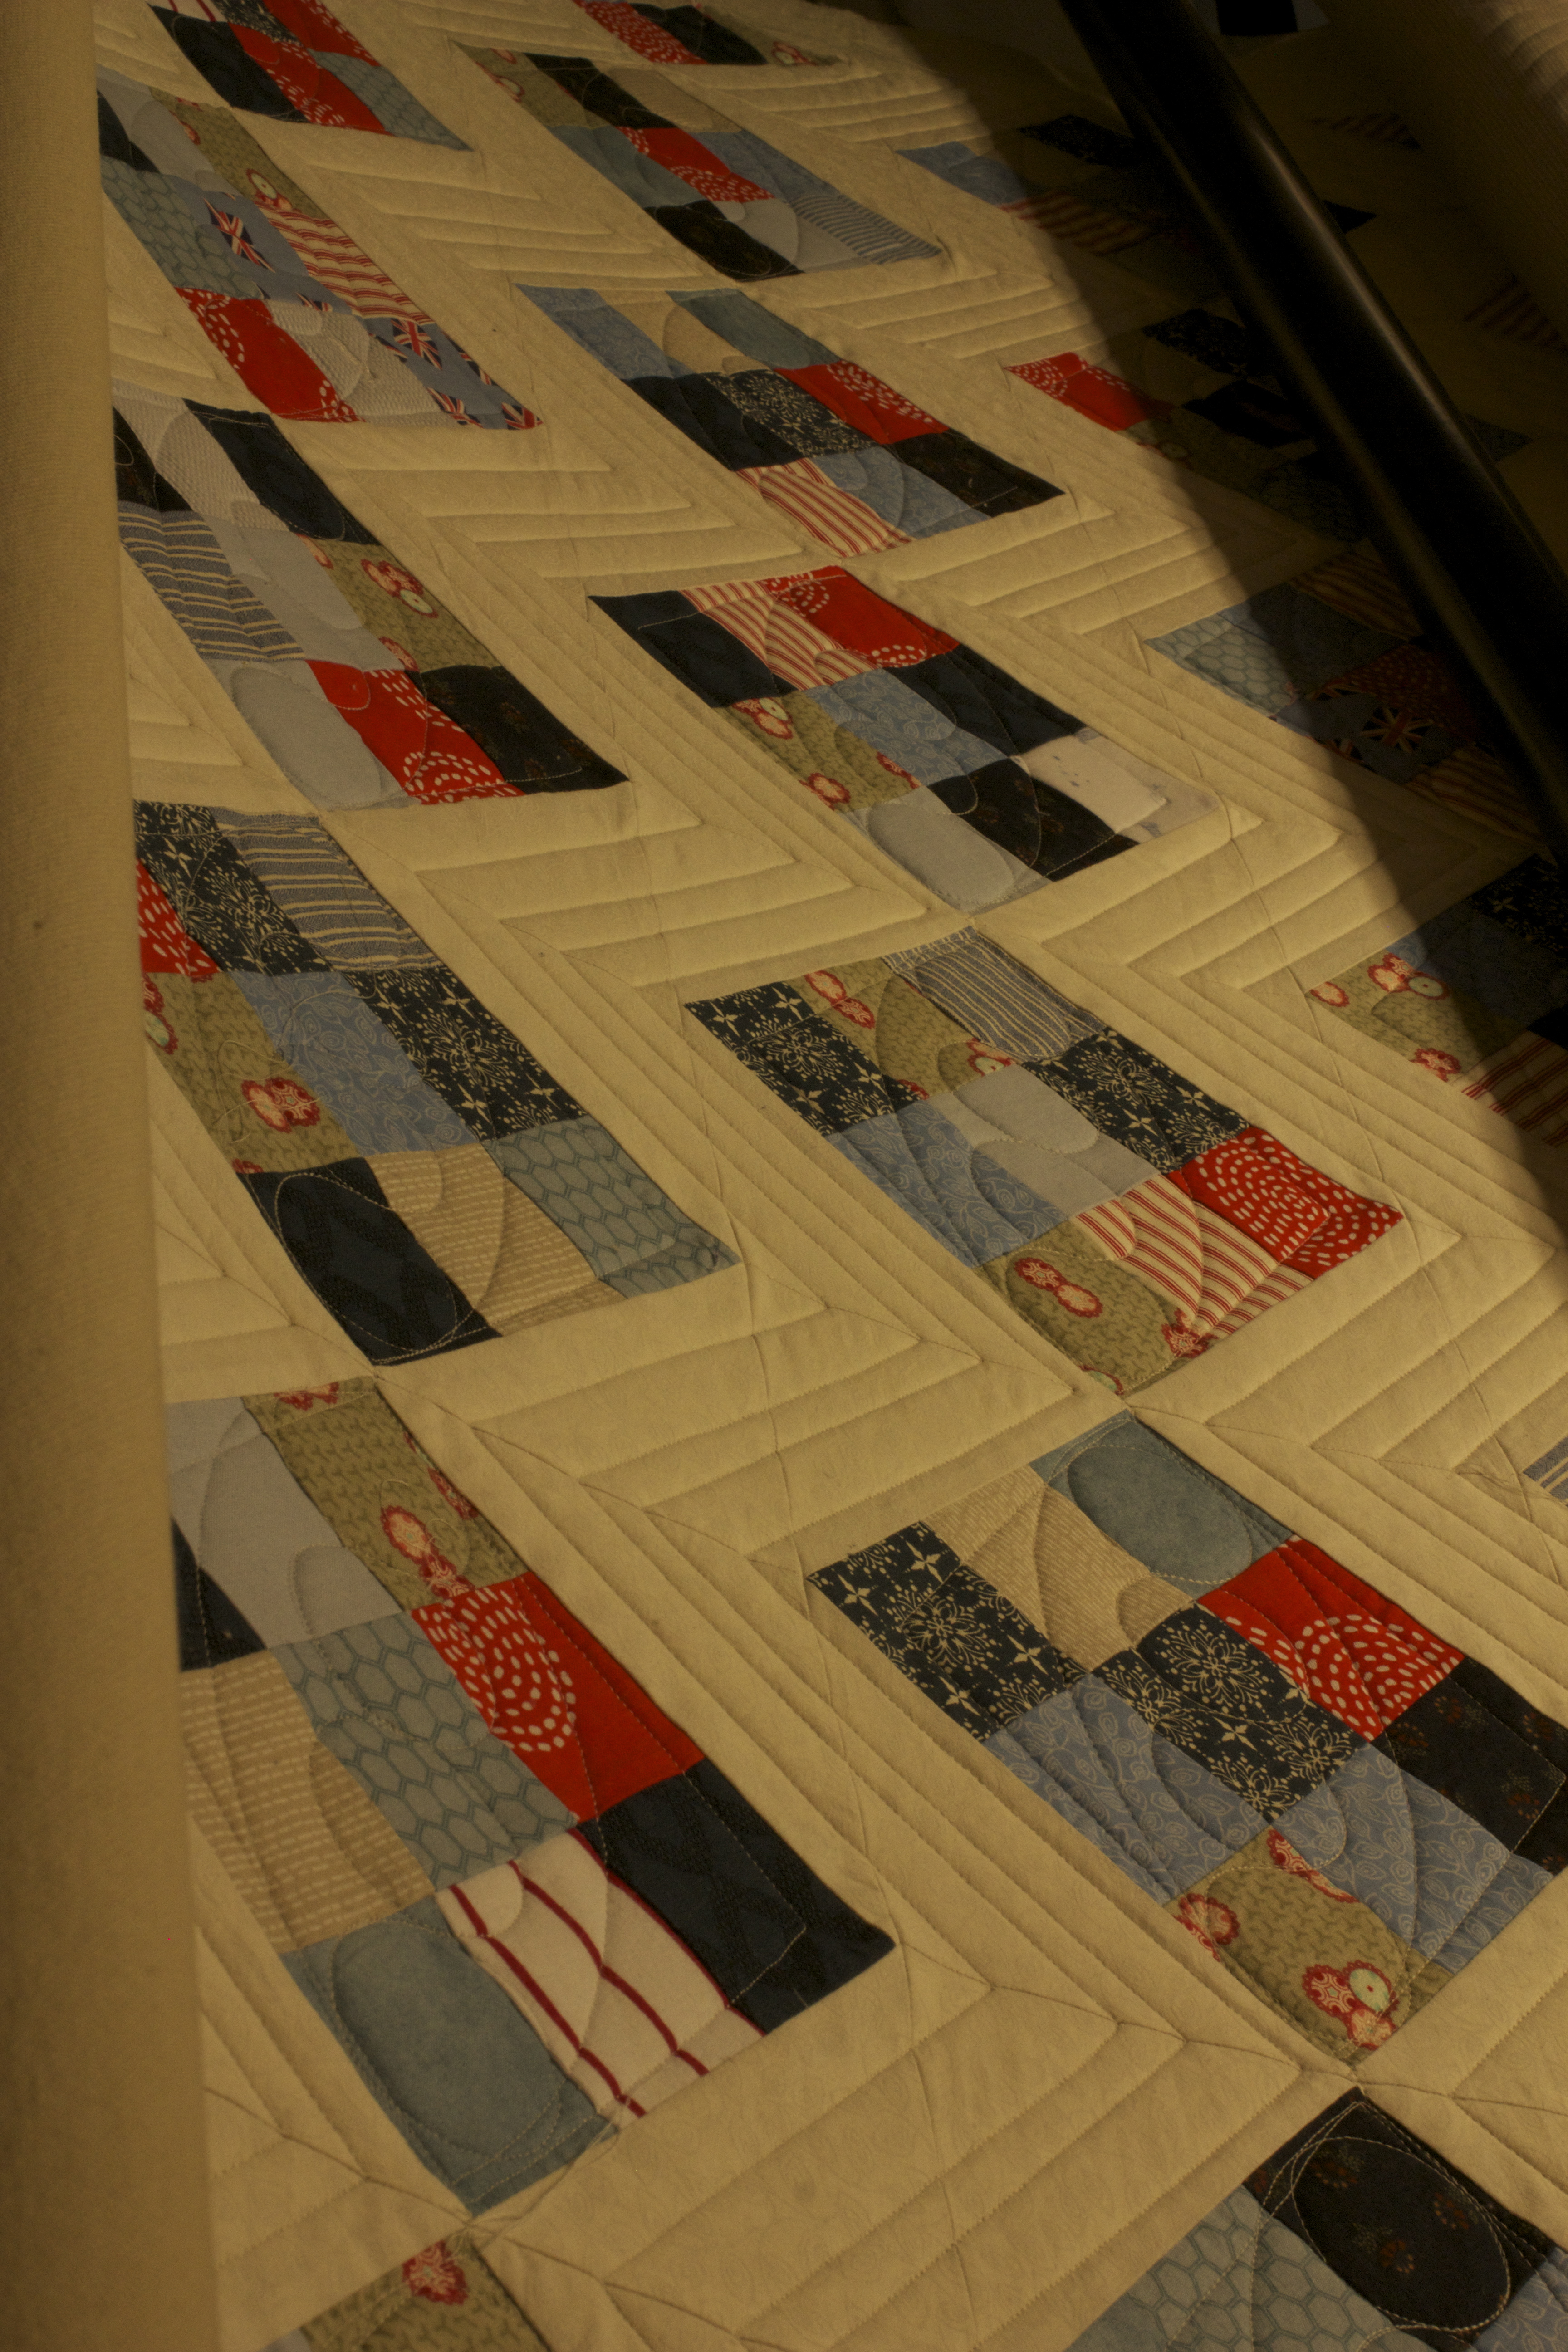
The quilt pattern is Pat Sloan’s Stitched. As you can see, the straight ruler work is pretty obvious. The design in the 9 patch squares is less obvious, but it seems there are circles in an oval in an irregular square. I believe geometry class would say there is no such thing as an irregular square, but class was many years ago so that is what I will call it. Considering there is no description for the quilting in the pattern and the quilting in the squares are only partial images, I created something that I thought is similar.
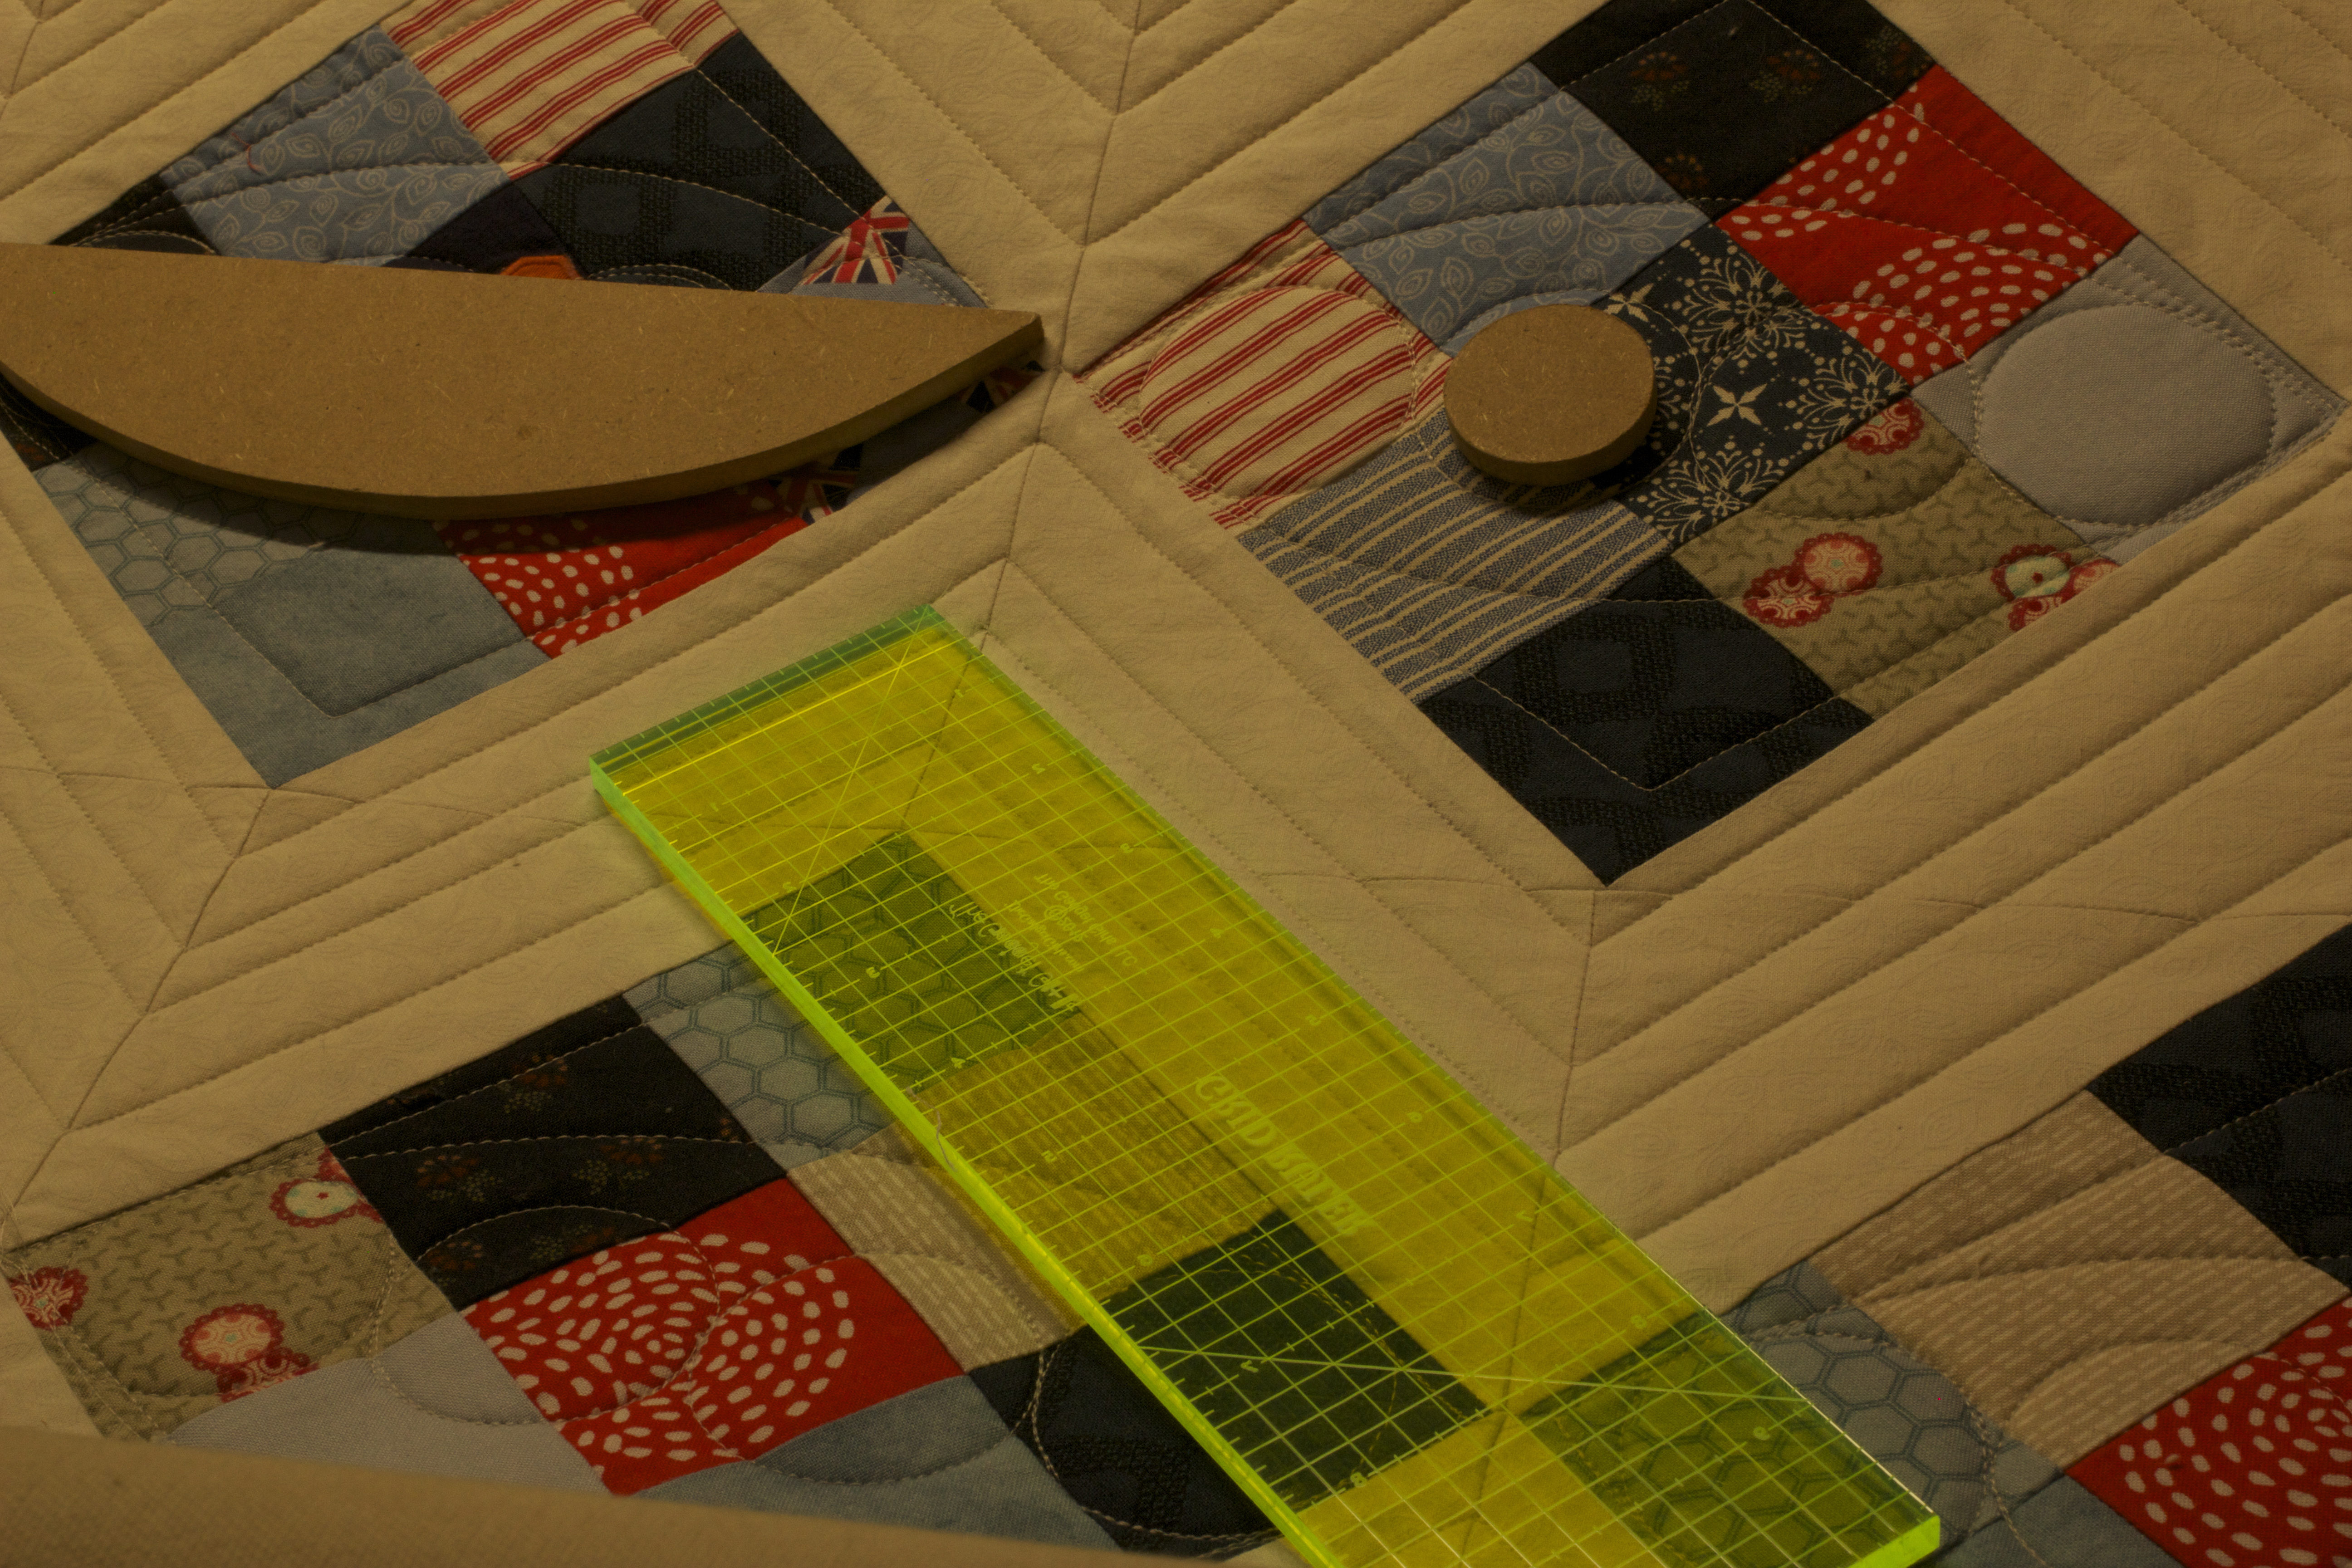
The ruler I was eager to use as I’d purchased my latest ruler at MQX Manchester in March and had not yet used it in any repetitive manner. However, I needed an oval template and round template. Thanks to this quilt top, I now know how to make my own templates, easily and quickly. Although B. actually did the sawing, I now know how to make them for next time. At least in theory, as B. tends to keep me away from sharp objects. The templates did the trick. Here are the templates and compass:

First, I drew the template onto a piece of paper with the compass and then onto the piece of quarter inch masonite. The masonite was clipped to the table and a jig saw was used to cut out the form.  I don’t think it took 5 minutes. Any rough edge was sanded out. Here is where the templates and ruler were used in the design:
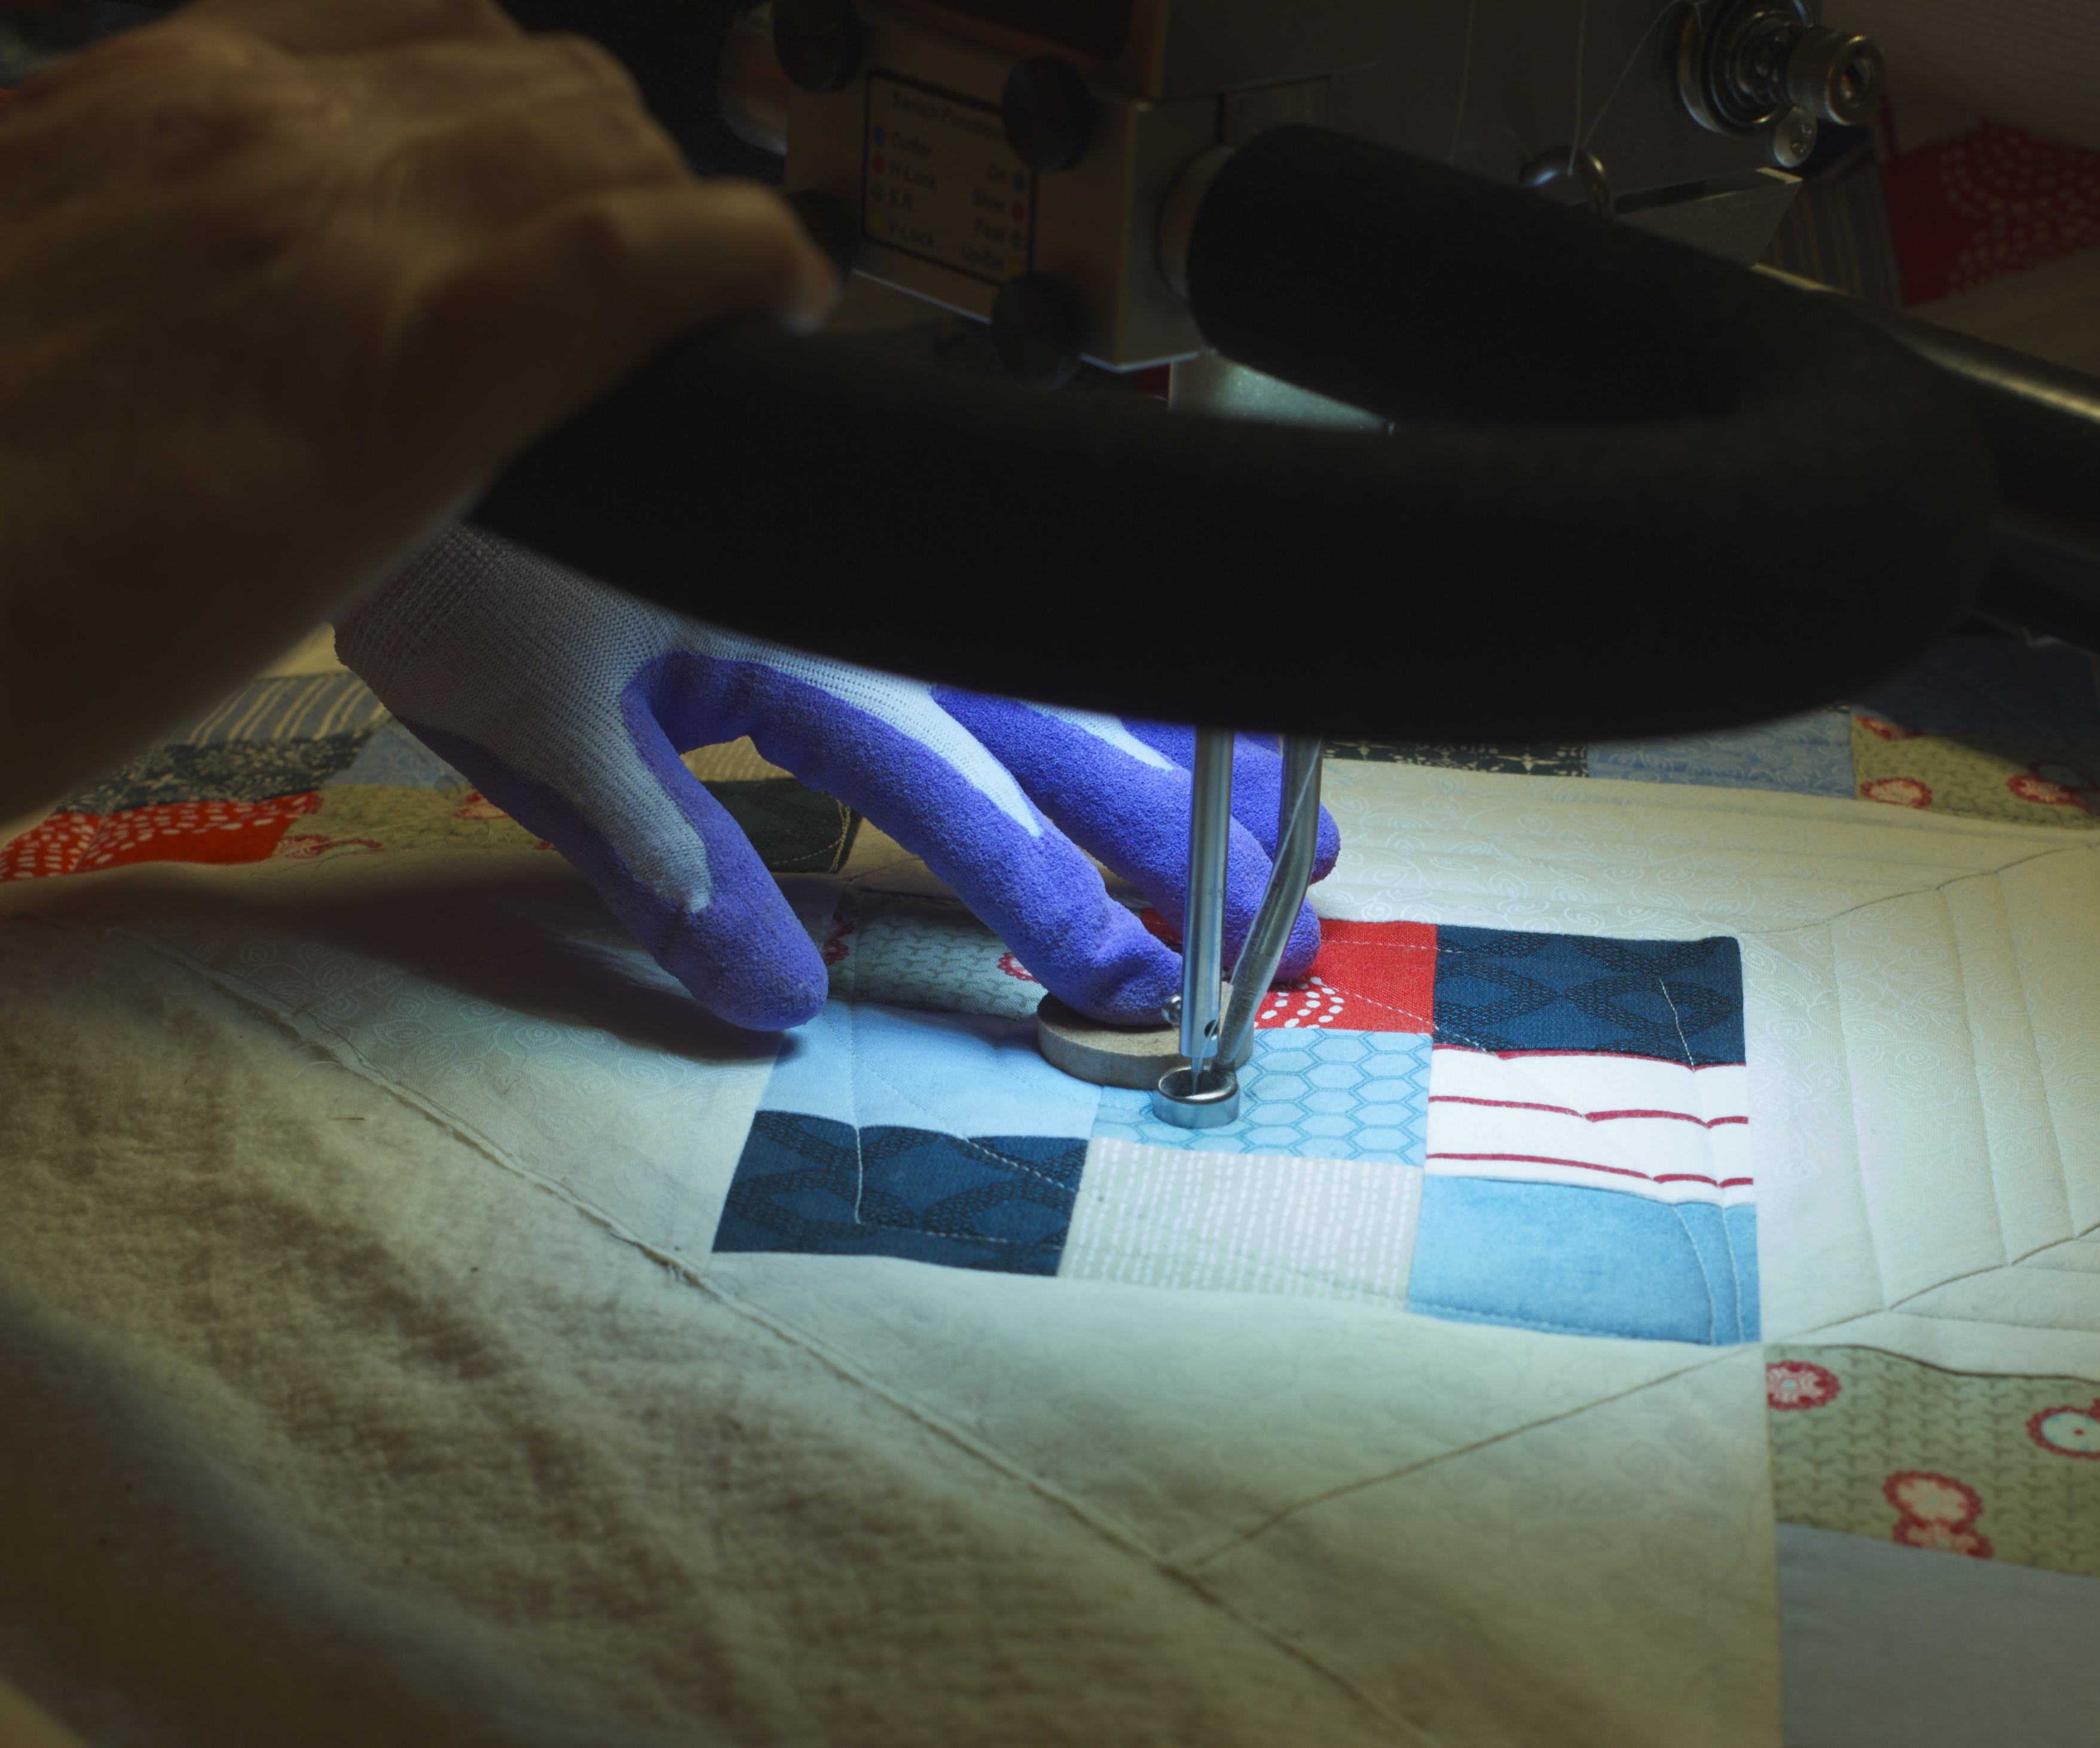
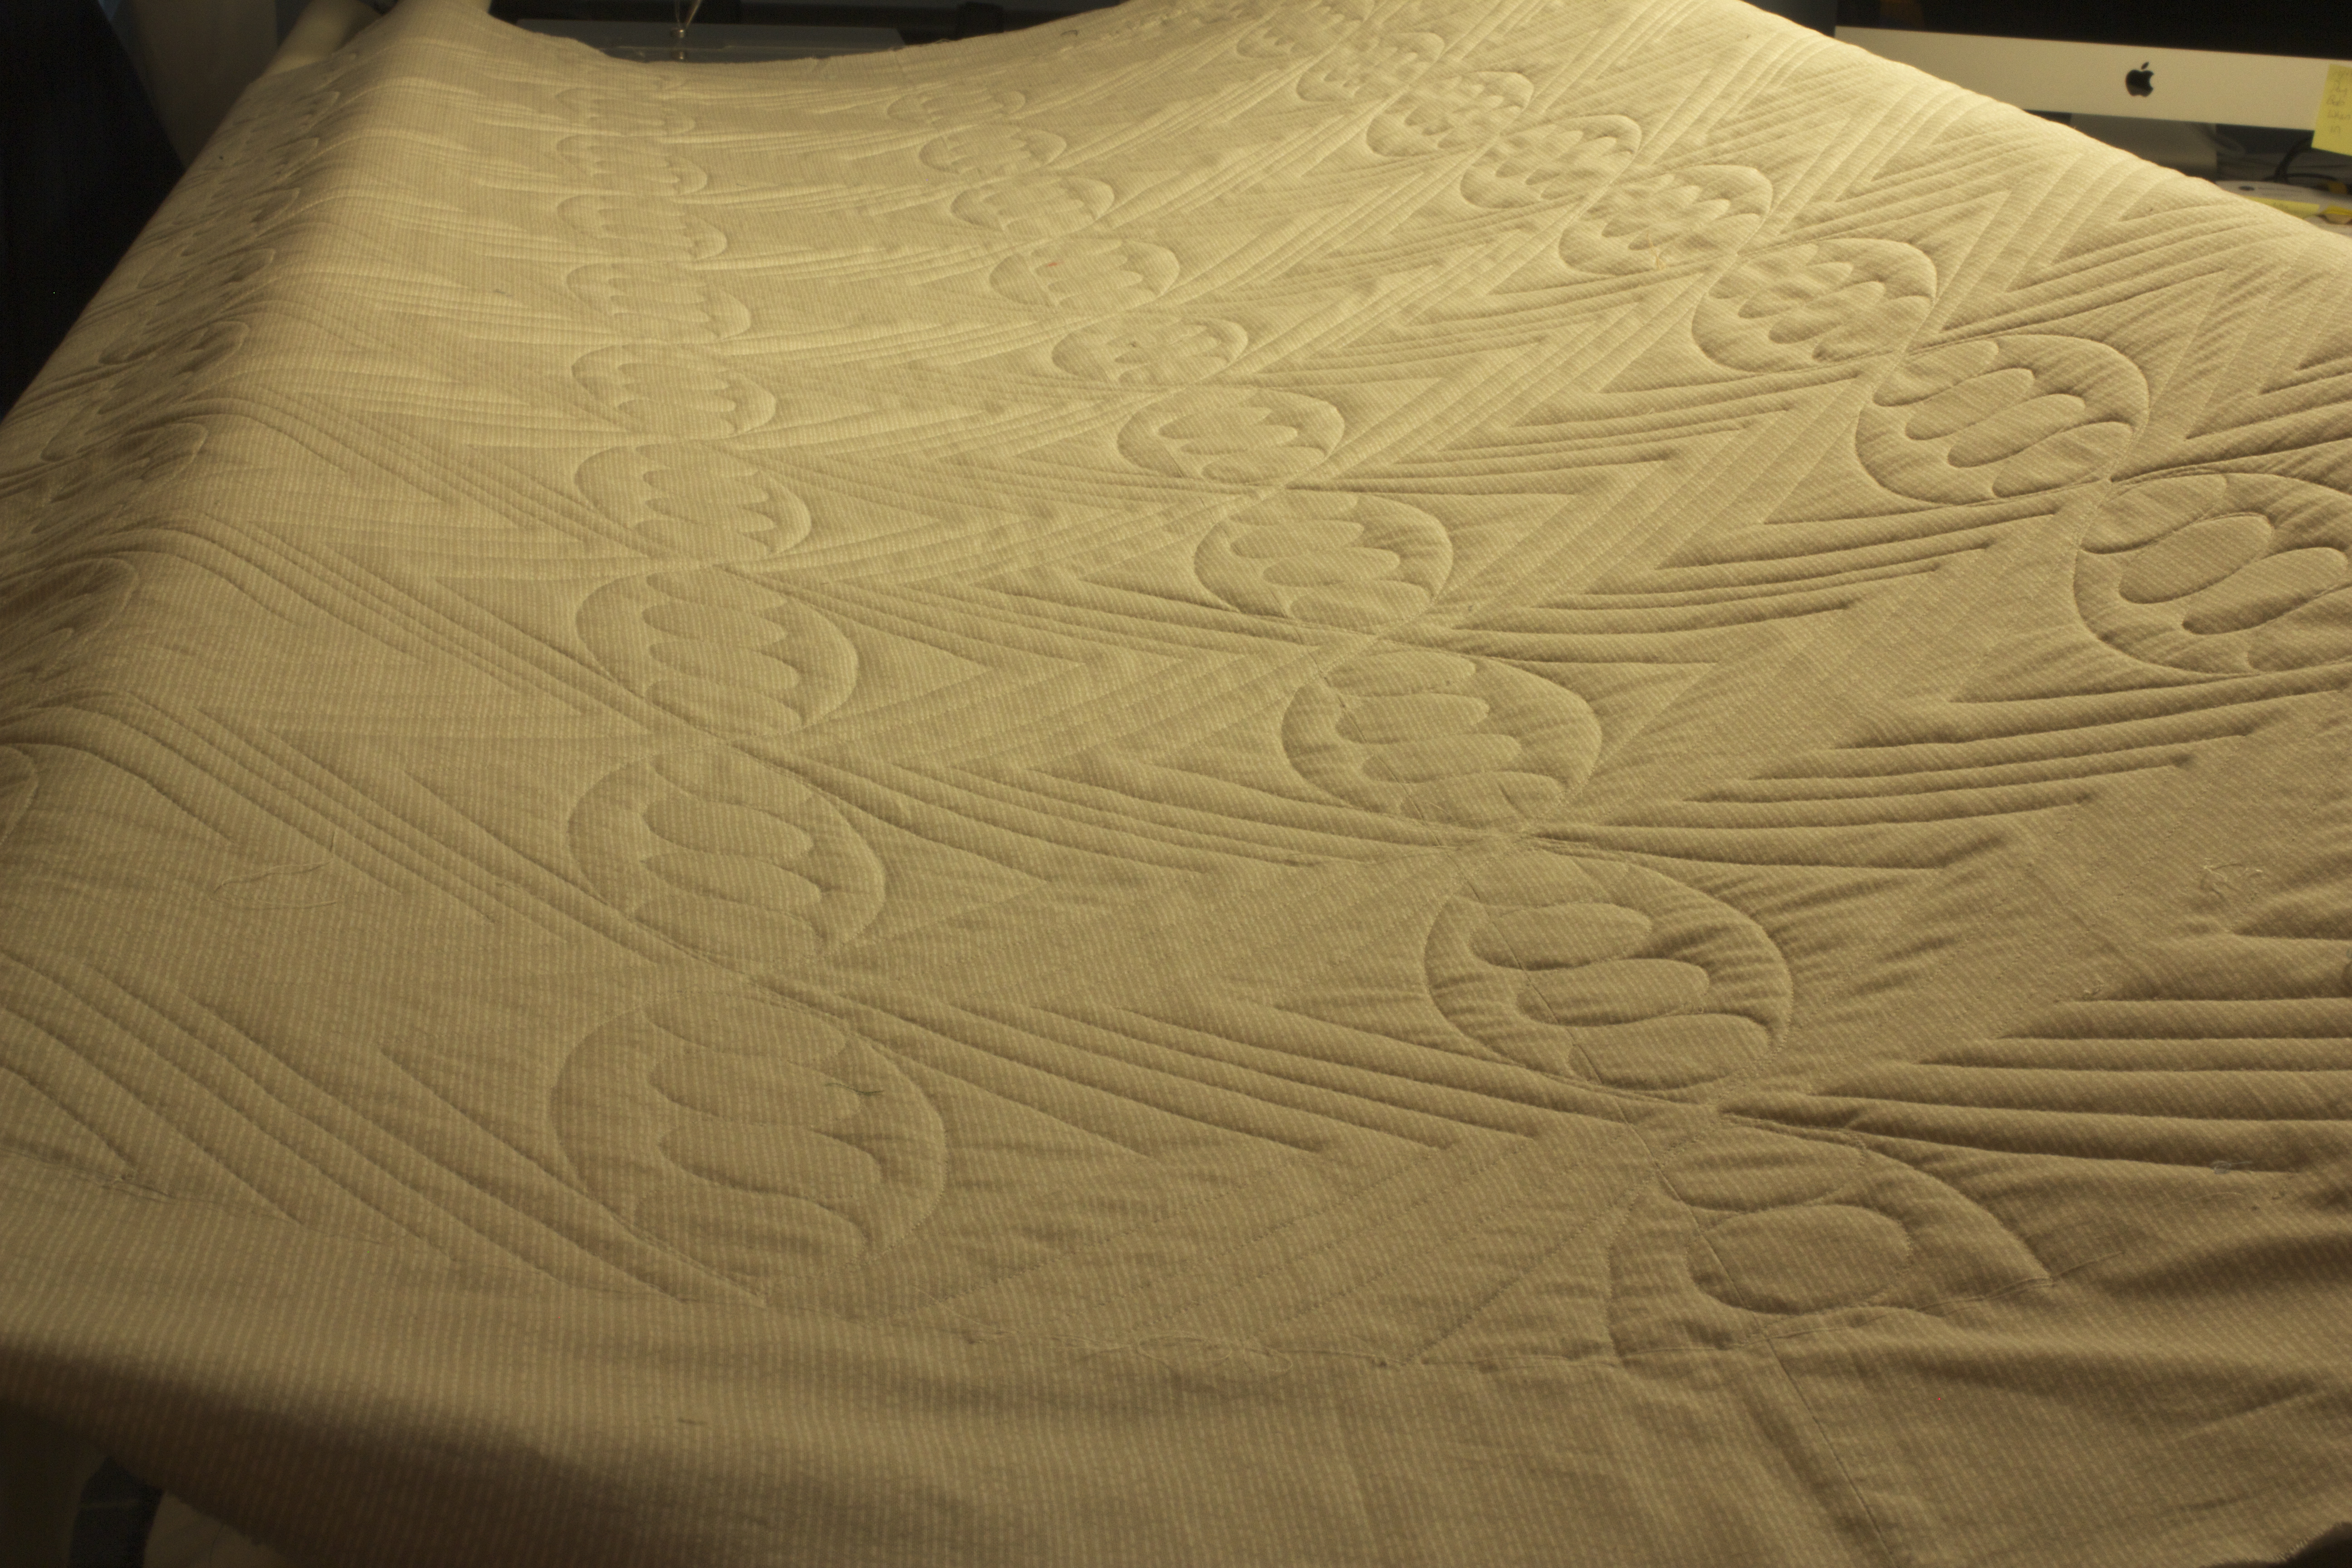
I actually found the repetition of the design meditative. Here is the result:
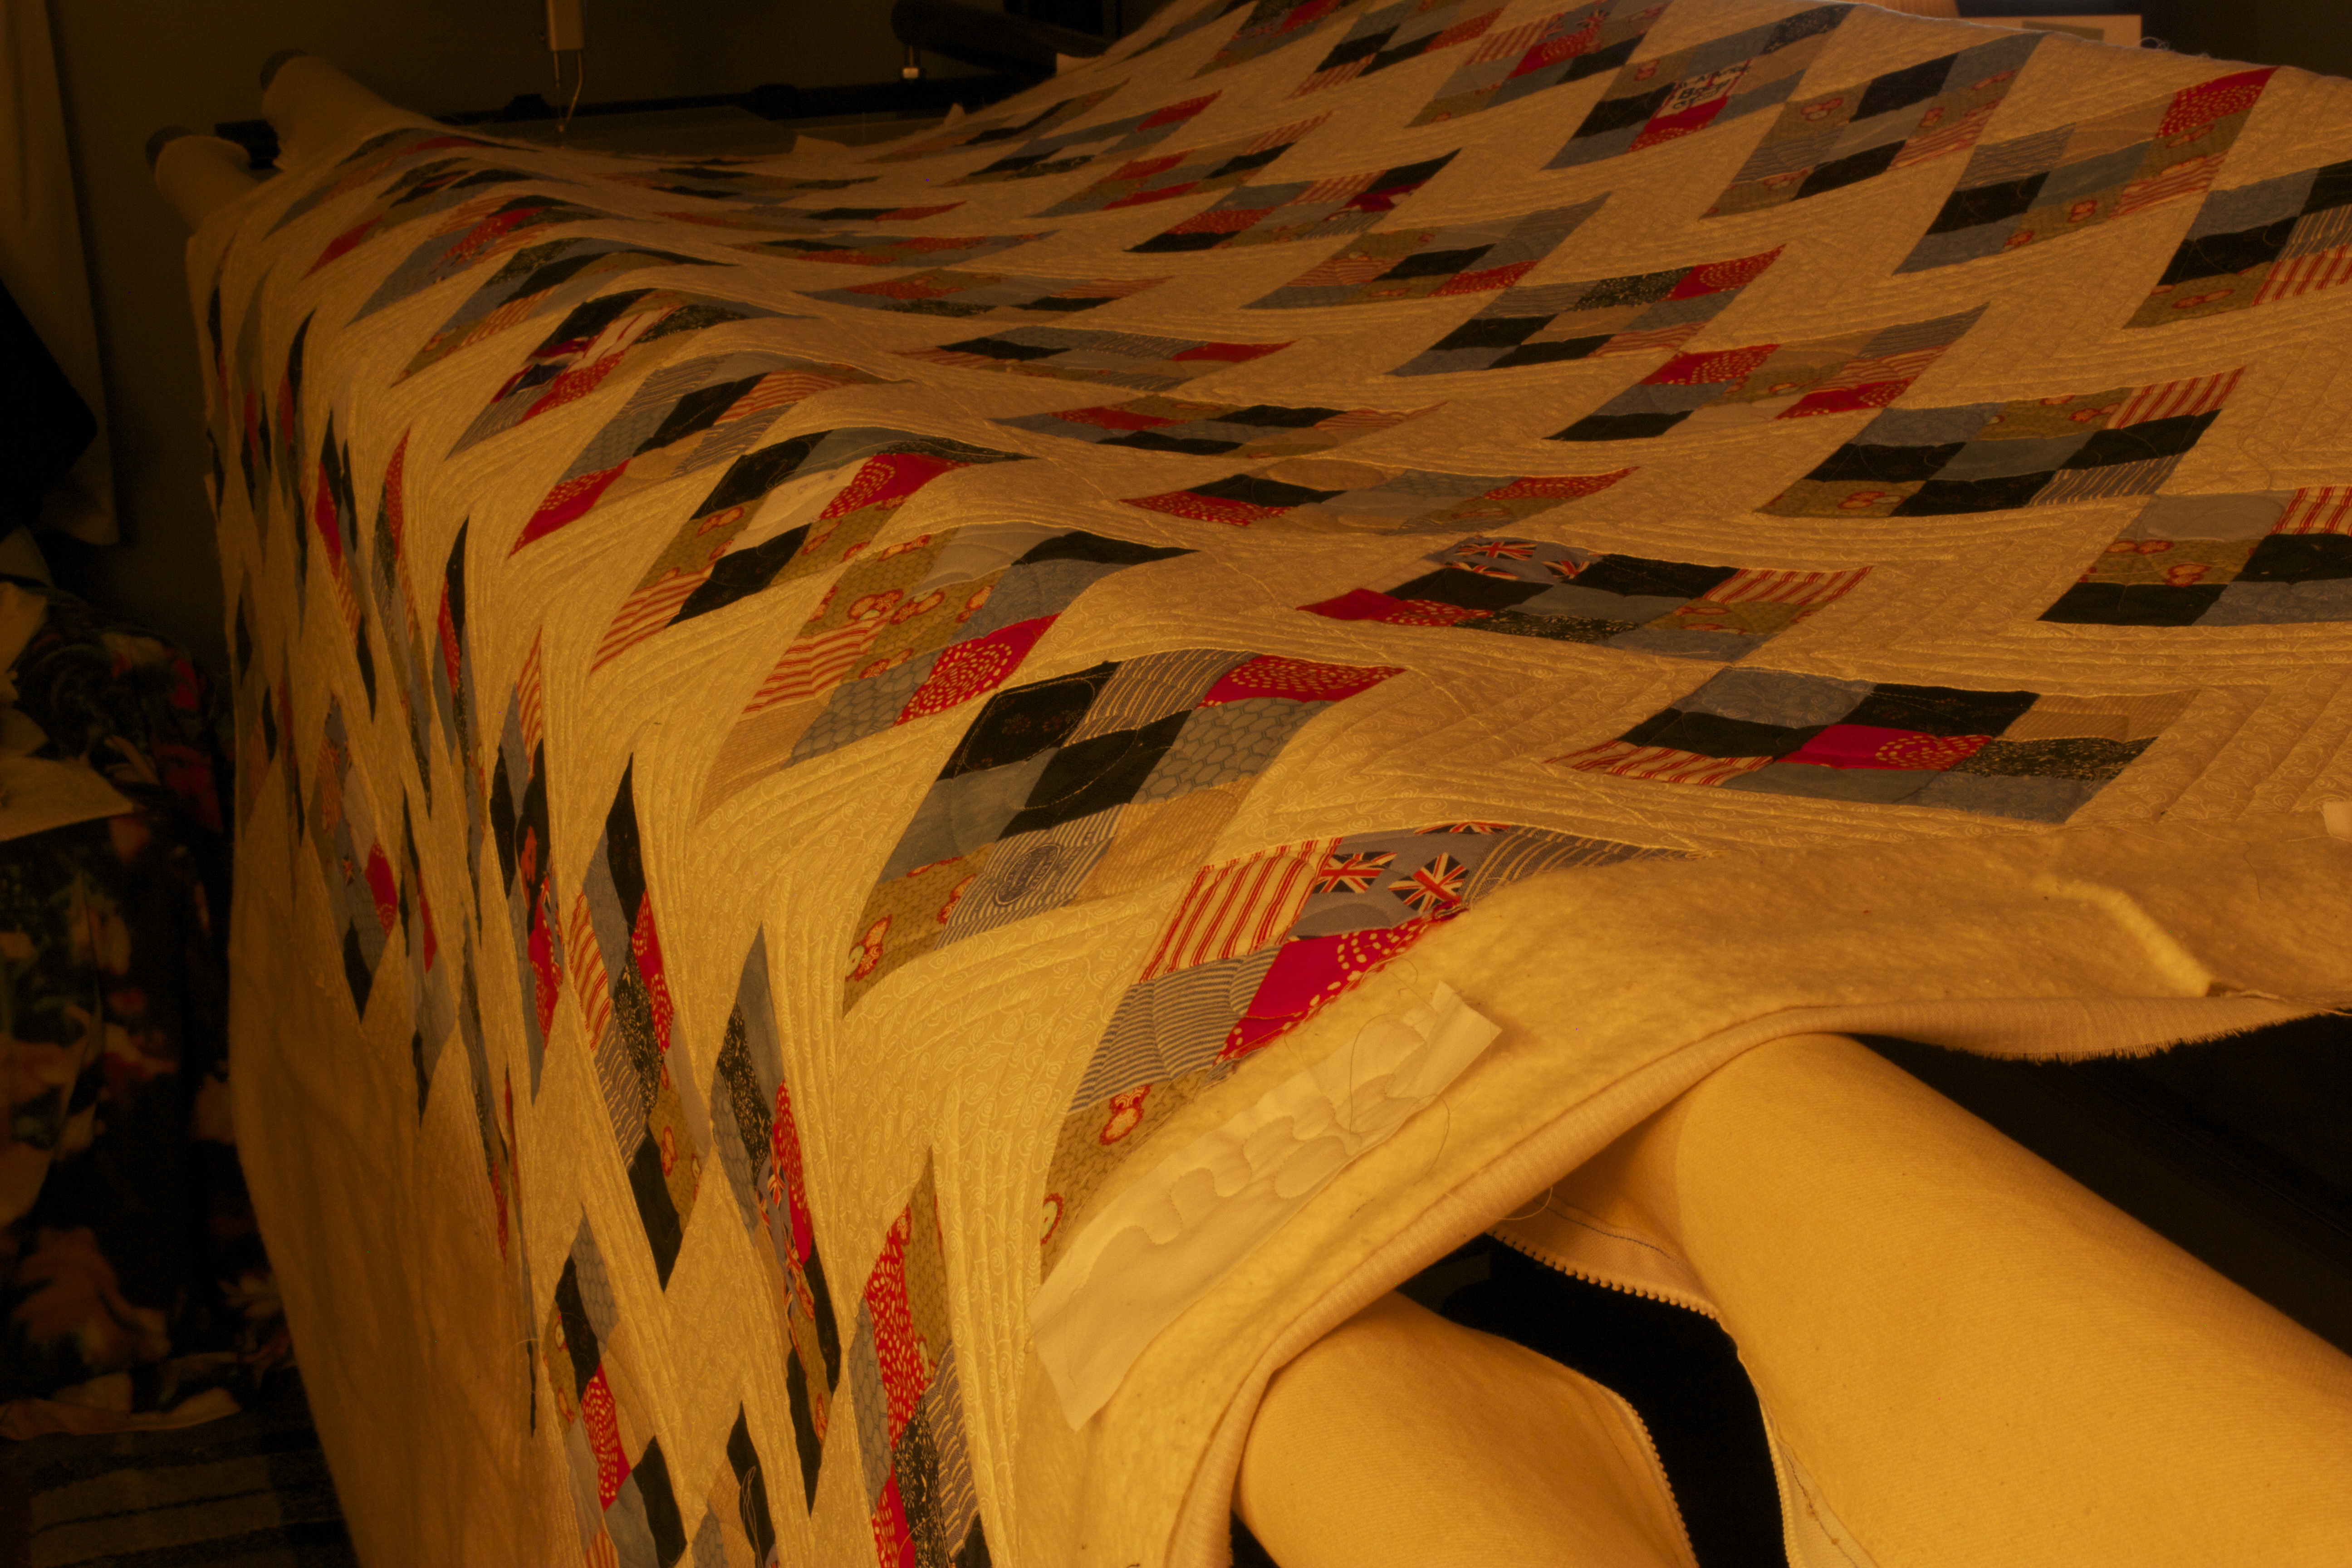
 Oh, and I removed the piece of lint… And the back:
The quilt goes back for trimming and binding. I’m glad I had this opportunity. Household Goods is a worthwhile cause. Check it out. Happy Holidays and Happy Quilting!


